Removal

• When working on the high voltage system, the work should be performed by technicians who have completed the relevant training. A lack of understanding of the high voltage system can lead to serious accidents due to electric shock or short circuit.
• When working on the high voltage system or related components, be sure to observe and be aware of the "Safety Precautions, Cautions and Warnings". If not, it may cause serious accidents due to electric shock or short circuit.
• When working on high voltage system, make sure to check the Personal Protective Equipment (PPE) and high voltage shut-off procedure.
1.Disconnect the battery negative ( - ) terminal and the service interlock connector.(Refer to Battery Control System - "Auxiliary 12 V Battery - 2WD")(Refer to Battery Control System - "Auxiliary 12 V Battery - 4WD")
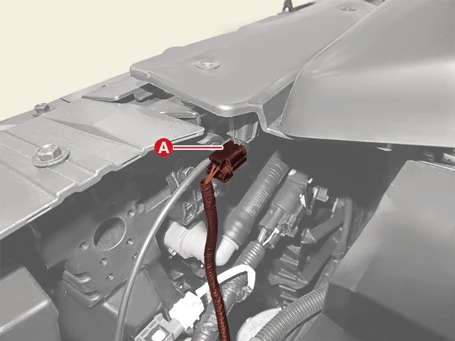
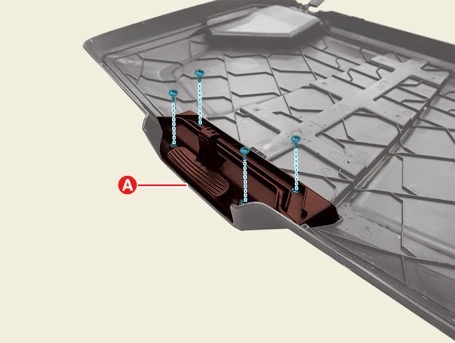
2.Disconnect the front trunk connector (A).
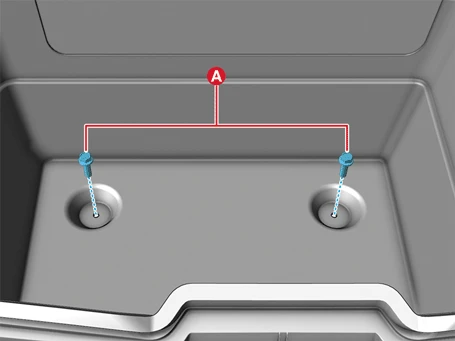
3.Remove the front trunk inside bolts. [4WD only]
(1)Remove the front trunk mat (A).

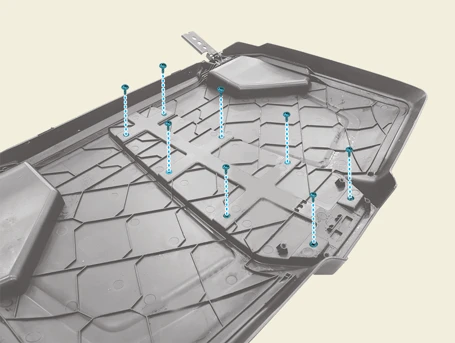
(2)Remove the front trunk bolts (A).
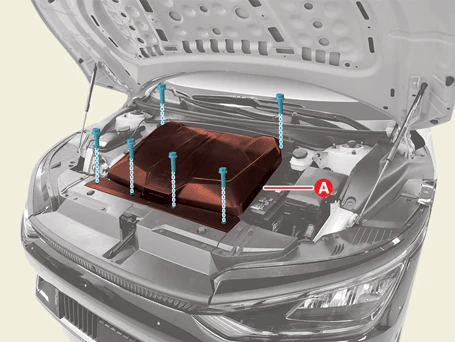
4.Remove the front trunk (A) after removing the bolts.
Installation

• When working on the high voltage system, the work should be performed by technicians who have completed the relevant training. A lack of understanding of the high voltage system can lead to serious accidents due to electric shock or short circuit.
• When working on the high voltage system or related components, be sure to observe and be aware of the "Safety Precautions, Cautions and Warnings". If not, it may cause serious accidents due to electric shock or short circuit.
• When working on high voltage system, make sure to check the Personal Protective Equipment (PPE) and high voltage shut-off procedure.
1.Install in the reverse order of removal.
Disassembly
1.Remove the front trunk.(Refer to Front Trunk - "Removal and Installation")
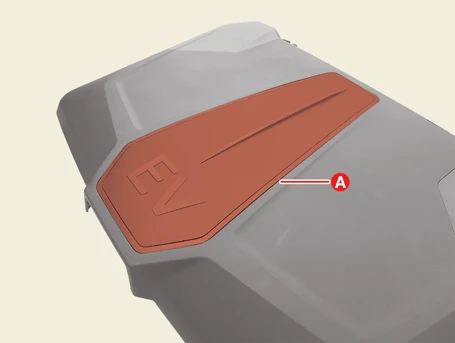
2.Remove the front trunk pad (A).
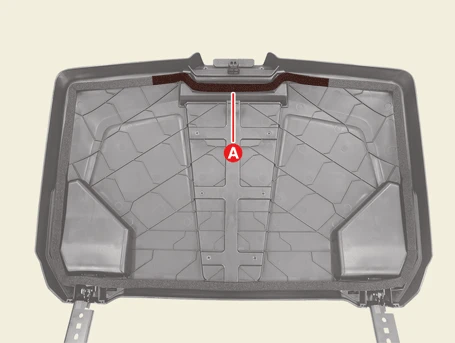

• Remove the front trunk pad by cutting the highlighted part.
• Do not leave any residue when removing the trunk pad.
3.Remove the front trunk handle (A) after removing the screws.
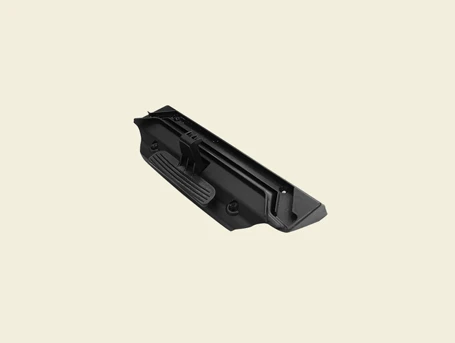
4.Remove the front trunk emblem (A) after removing the screws.
Reassembly
1.Reassembly in the reverse order of disassembly.

• Cut the trunk pad to required size and attach it during assembly.
• When replacing the emblem, replace the handle and pad (cutting part) with new ones.