Removal
1.Remove the right outside rear combination lamp.(Refer to Body Electrical System - "Rear Combination Lamp")
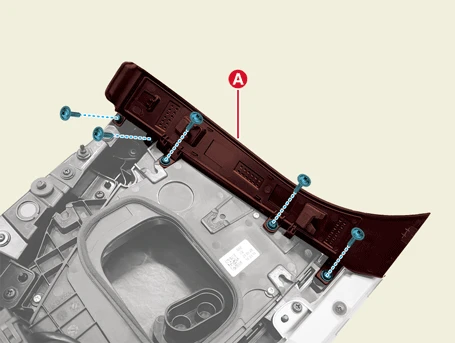
2.Remove the flange cover (A).
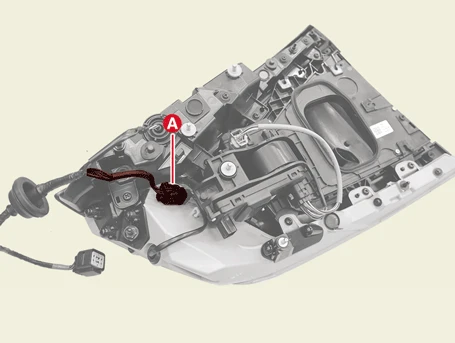
3.Disconnect the charge door control unit connector (A).
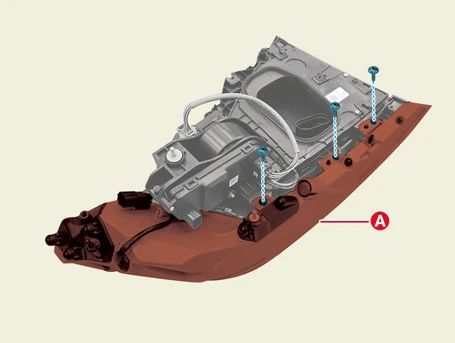
4.Remove the stop / tail lamp (A) after removing the screws.
5.Remove the turn signal lamp (A) after removing the screws.
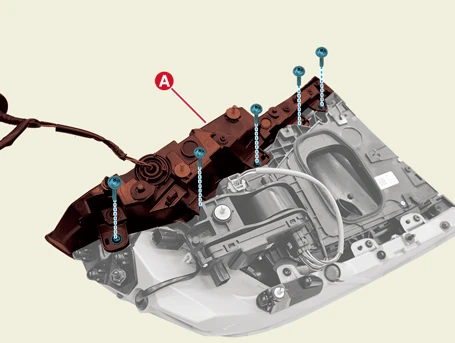
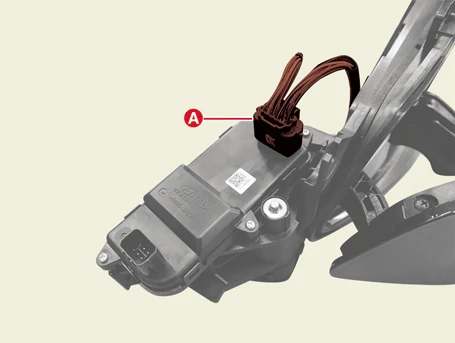
6.Disconnect the charge door module connector (A).
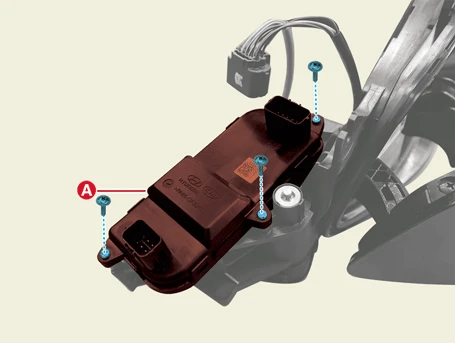
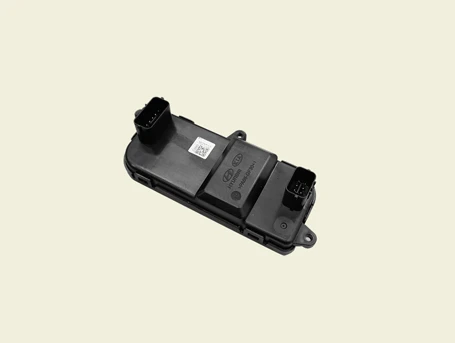
7.Remove the charge door module (A) after removing the screws.
Installation
1.Install in the reverse order of removal.

2.After replacing the CDM and the related parts, vehicle should be checked that it charges normally.